Settings JWT Prefill
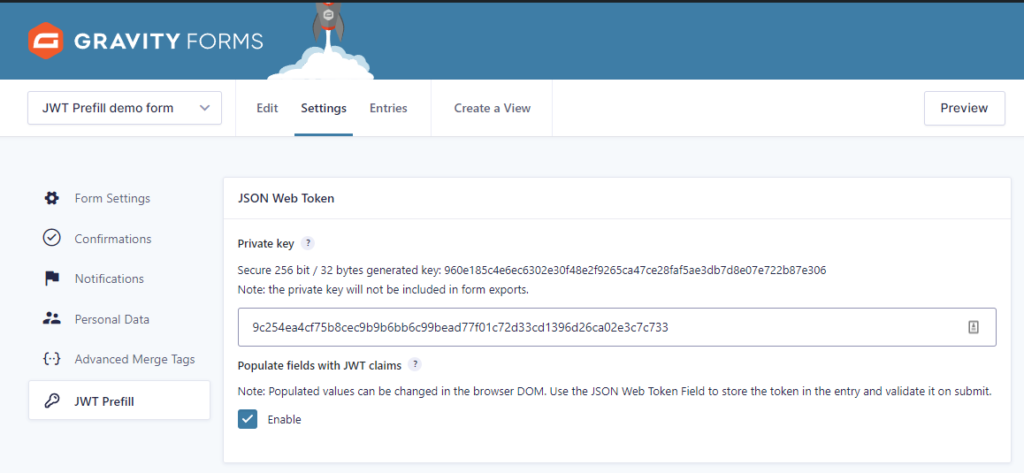
After the JWT Prefill Add-on is activated, you’ll see an extra settings page for your Gravity Form.

Most importantly is to set a Private key. The key you save in the input is the key that’s going to be used for generating your JWT tokens. To help you, the Add-on generates automatically a secure key you can use. This will generate on every page load of the JWT Prefill settings page.
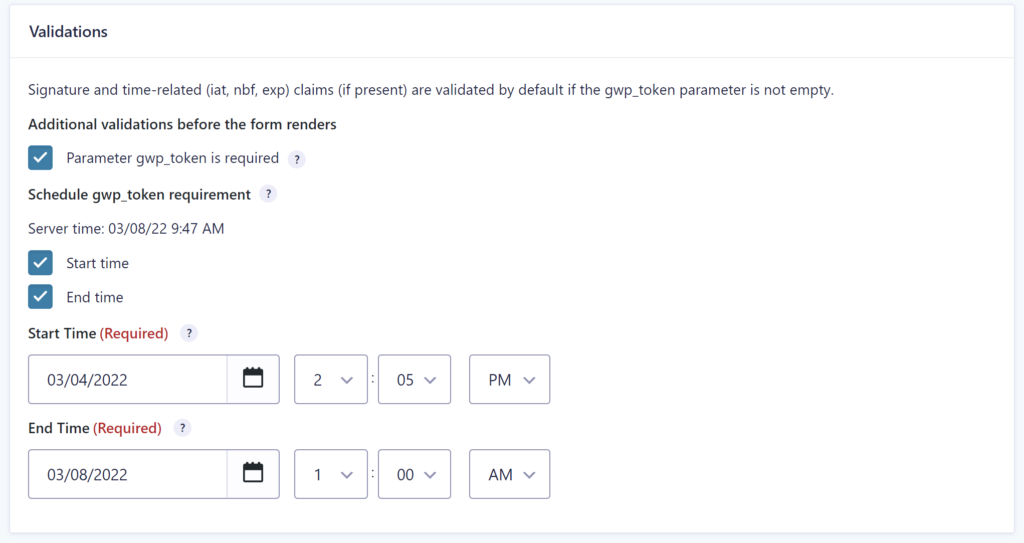
Validations
You can configure validations:
- Parameter gwp_token is required: When enabled, the Gravity Form will only be loaded if a gwp_token is passed in the url query.
- Schedule gwp_token requirement: You can configure a Start time and End time for the requirement of the token. This can be handy if you want to schedule a certain moment when you want the form only to be accessible with a gwp_token or when you want to open the form (End time) for everybody after a certain date and time.
- Start time: the moment a gwp_token is required
- End time: the moment a gwp_token is not required anymore

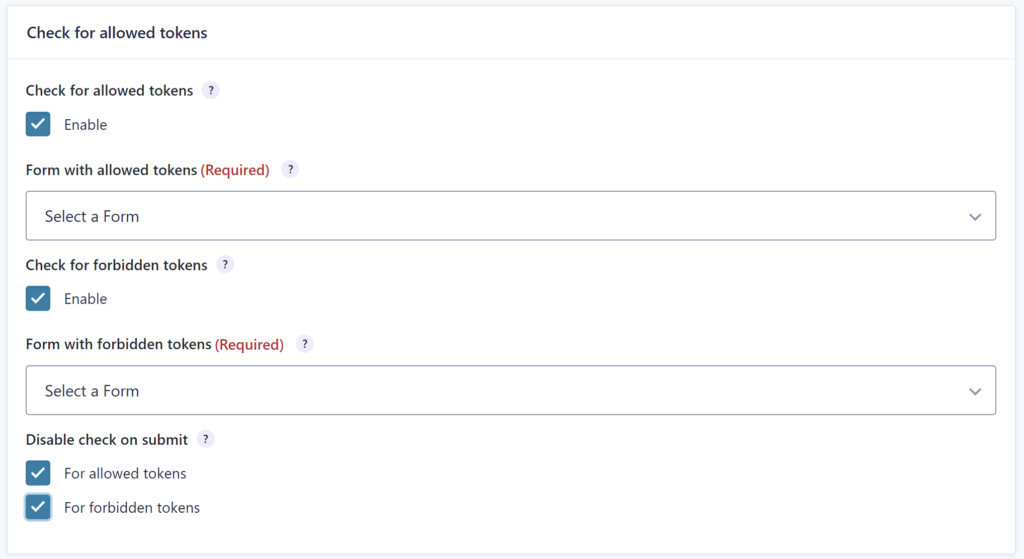
Check for allowed tokens
You can also configure a check on allowed or forbidden tokens. This can be handy if you want to be 100% sure that the JWT token being used is allowed to be used. You can do that by connecting another Form that holds the allowed or the forbidden tokens in a Single Line Text field.

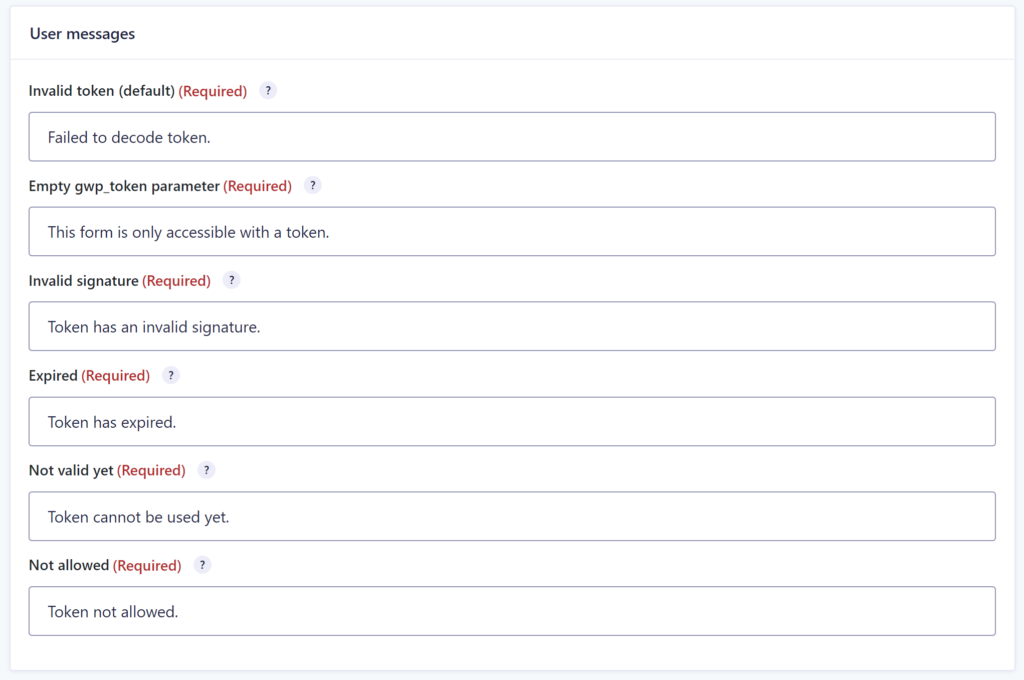
User messages
On the settings page you can also change the default User messages that are shown when:
- Invalid token: message shown to front-end users when the token that was passed in the gwp_token parameter is invalid.
- Empty gwp_token parameter: message shown when the gwp_token is required but empty.
- Invalid signature: message shown when the signature (checked with the private key) is not valid.
- Expired: message shown when the token is expired (exp claim inside the token)
- Not valid yet: message shown if the token can’t be used yet.
- Not allowed: message shown when the token is not allowed (when configured with the check on allowed or forbidden tokens in another form).
