Configuring the feed
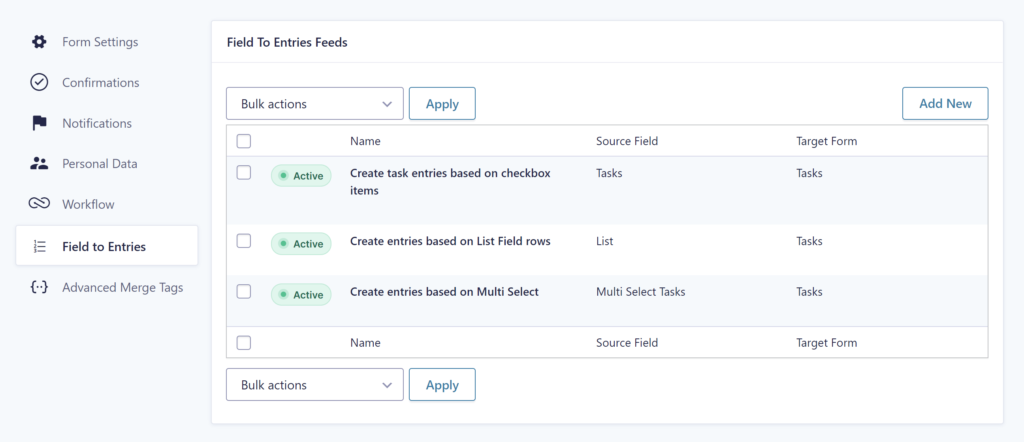
In the Form Settings you’ll have an extra tab for Field to Entries:

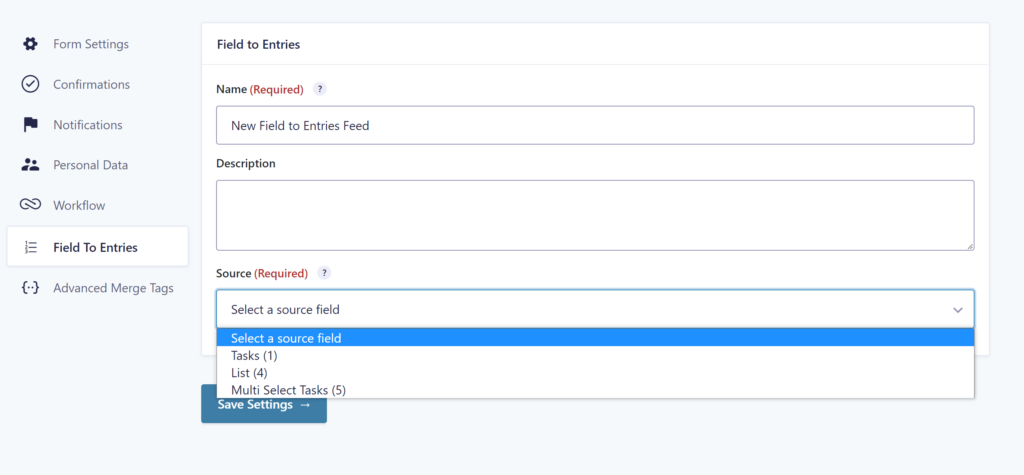
Select a Source Field
When creating (or editing) a new Feed you can select a Source Field. This drop down shows the Fields in your Form that can be used (Checkbox, Multi Select, List and Text Field):

Select Target Form
After selecting the Source Field you want to use to create new Entries, you can select a Target Form. This is the Form wherein the new entries will be created.

Field Mapping
After you’ve selected the Source Field and the Target Form, you can start mapping fields. The Field column is the Field from the Target Form you want to fill with data from the entry. Under Value you can select which value from the current Form entry you want to use to fill the field in the Target Form.

You’ll see that you have an extra option available in the Value Drop Down, in this example ‘Field -> Entry: Multi Select Tasks (each selected item)’. This will fill the field in the Target Form entry with the selected data from the Multi Select. This works the same with Checkbox and List Fields.
Custom values in the Field Mapping
It is also possible to add customized values to the field map. Here you can use a combination of text and field merge tags from the source form’s entry.

Modifying the Field -> Entry value with the {target} merge tag
In case you want to customize the Field->Entry value in the target form’s entry, it is possible to use the {target:field_id} merge tag. The {target} merge tag only works for Target Form Fields that are mapped to a Source Form ‘Field -> Entry’ value.
For example:
- In the target form the Task field (with field id 1) will be filled with one of the selected Tasks in the source form.
- To modify the Task field’s value we can use the {target:1} merge tag, with will return the value of the Task Field.
- This allows to customize the value, for example using the gwp_case modifier from our Advanced Merge Tags Addon.

Last updated: 27-06-2025