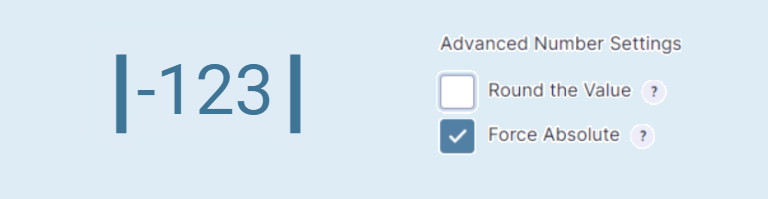
The Gravity Forms Number field supports basic calculations using values from other fields, like add, subtract, divide and multiply, but sometimes we really miss the possibility to convert a negative value to an absolute number (positive value). For example, when we want to calculate the difference between two values. Can this be solved using out of the box Gravity Forms functionality?
The answer is yes… 😉
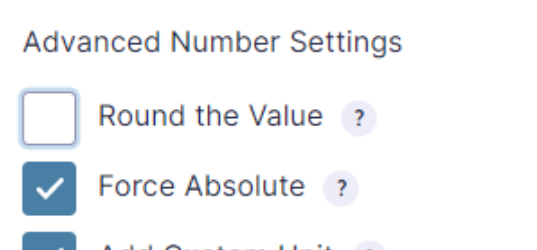
But it is rather complex, as you need to add at least 4 extra fields with calculations and conditional logic. It is very easy however if you use our Advanced Number Field addon. Here you can just tick the ‘Force Absolute’ box, among some other great advanced number field features:
Still want to do it the hard way? Buckle up and we will walk you through it step by step.
How to calculate an absolute value in a Gravity Form
We achieve this using a combination of multiple number field, calculations and conditional logic. We will explain it with an example form where the user inputs his (or her) height in meters. Then the form calculates the difference in centimeters. We want this value to be a positive number in any case. We will build a form where you can input your own height in meters. The form then will calculate the absolute difference in centimeters of your height compared to the average woman height, using only Gravity Forms core functionality.
Step by step instruction
Open the form editor to create a new or edit an existing form. Add the following number fields:
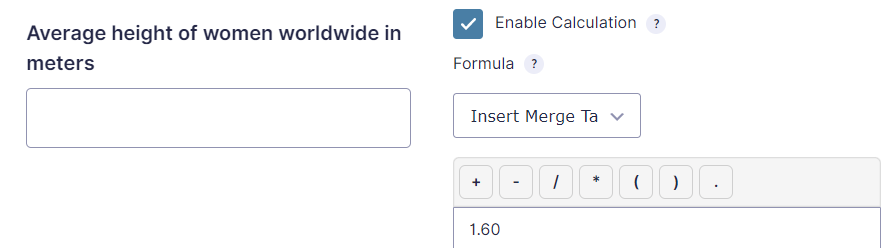
- The first number field has a fixed value, which is the more or less average height of a woman in meters. We enable calculations and fill in 1.60.
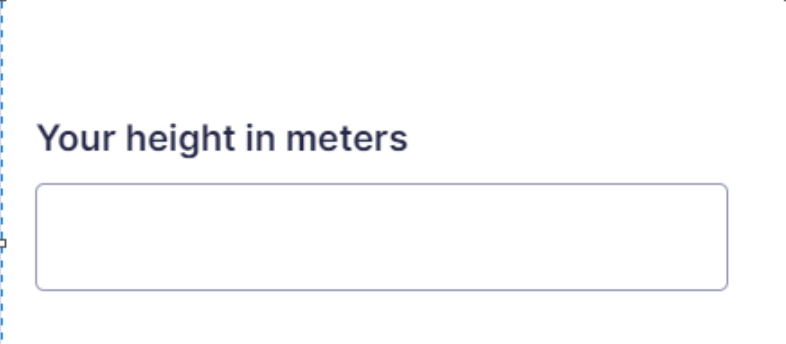
- The second number field is a user input.
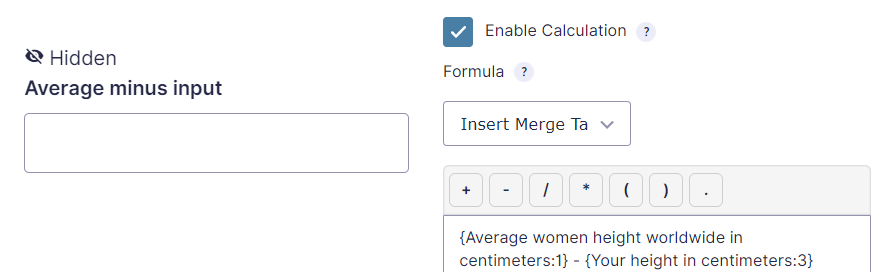
- In the third number field we calculate the difference like Average minus the user input. When your height is above 1.60 meter the result will be a negative value. As we don’t want the user to see this field we hide it in the field visibility settings.
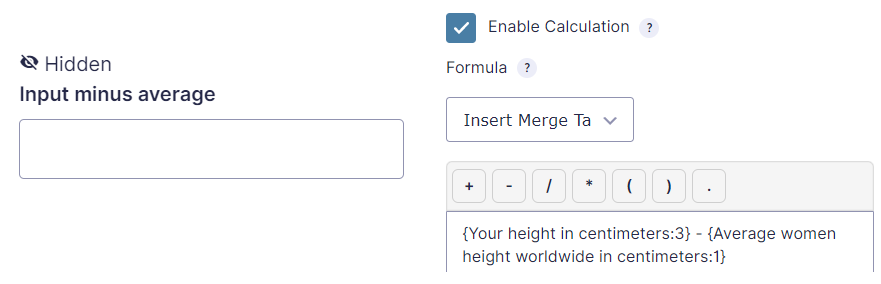
- In the fourth field (hidden) we calculate the difference the other way around. When your height is above 1.60 meter the result will be a positive value. Now we have two fields which calculate the different. Now at least one of these contains a positive value. But how to determine which one? We need two more fields for this.
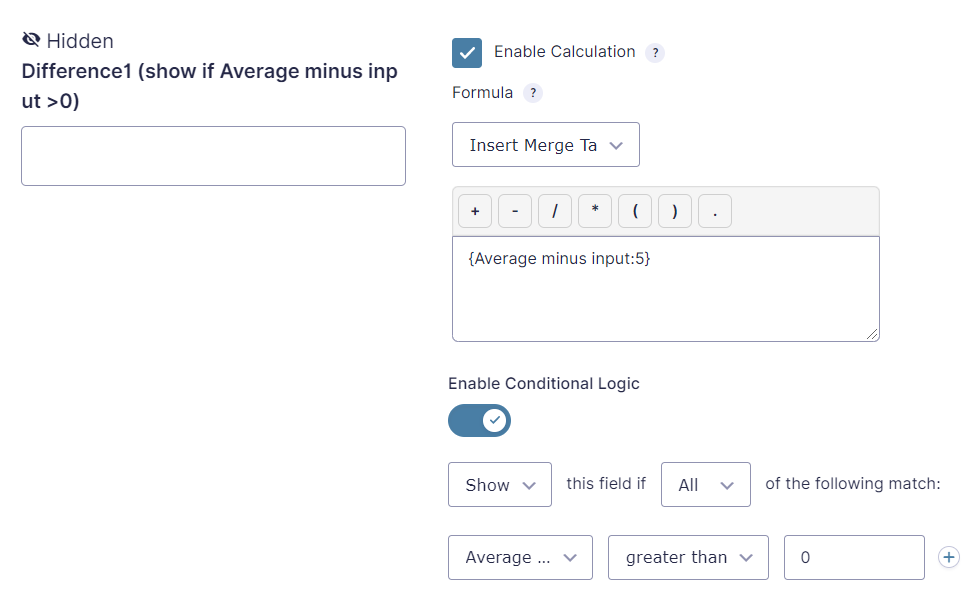
- Therefore we add another hidden number field, which copies the value of the ‘Average minus input’-field. But we also enable conditional logic for this field and show it only in case ‘Average minus input’ has a value greater than 0.
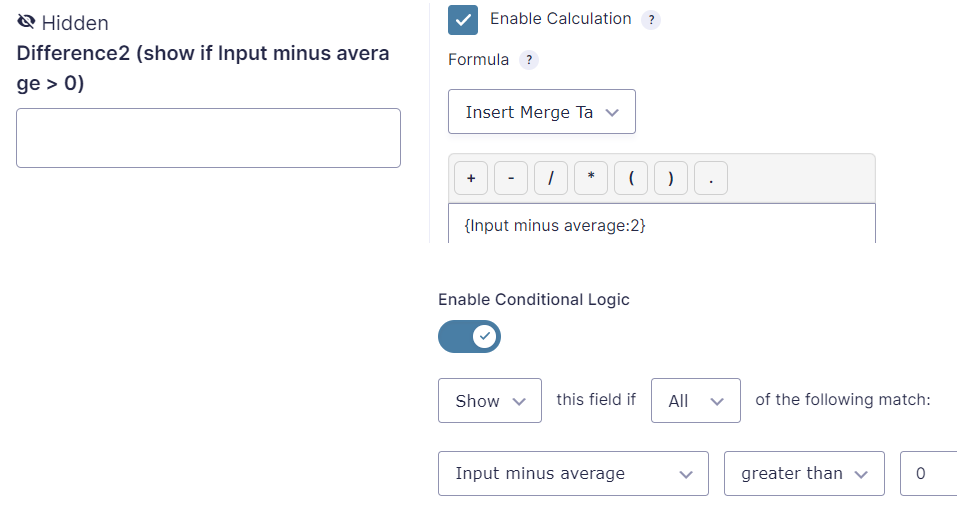
- And we add yet another hidden number field which copies the value of ‘Input minus average’ which also shows conditionally but now when ‘Input minus average’ has a value greater than 0. Because of this conditional logic the ‘Difference1’ and ‘Difference2’ field will never show at the same time. Note that ‘show’ is not the same as ‘visible’, the field is still invisible to the user as it is hidden in the field settings. In this case ‘show’ means the fields conditional logic evaluates to true and therefore the form will be able to use its value.
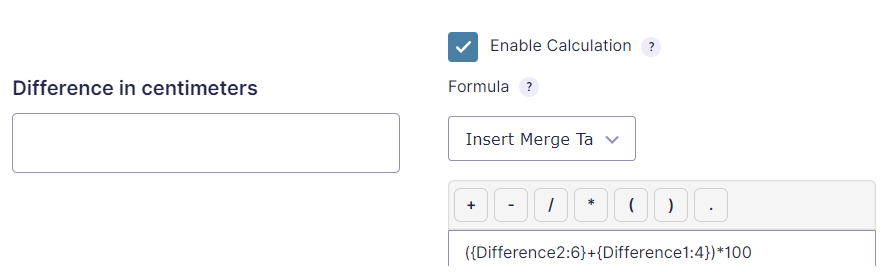
- In the last number field we add we will finally be able to calculate the difference as an absolute number. We do this by adding up Difference1 and Difference2. Only one of this fields is shown due to conditional logic. The other one will hold a value of 0, because it is hidden by the conditional logic. Finally we multiply it by 100 to convert centimeters to meters.
As you can see this is quite a lot of work te get an absolute number value in Gravity Forms, and you need quite a lot of fields to achieve this.
Demo form calculating the absolute number
You can try it out here. Click the button to show the fields hidden by the visibility setting. Note Difference1 and Difference2 being shown conditionally.
Our Premium add-ons for Gravity Forms

List Number Format
With this Gravity Forms Add-on you can change List Field columns into a number field, do calculations within a row or column. Extra merge tags are available with total counts of columns.

API Connector
Connect Gravity Forms to External API's: Query the API using form field values and automatically fill other form fields with the API response.

n8n Connector
Connect Gravity Forms to n8n and automate your workflows with secure, flexible, and powerful webhooks. Go beyond simple notifications and build advanced, two-way automations.

List Datepicker
Add a Datepicker with calendar select to a column or multiple columns in a Gravity Forms List Field.
Read tutorials about

How to Create a Public Submission Business Directory in WordPress (Gravity Forms + GravityView)
Build a moderated business directory where users submit listings through a form, admins approve entries, and approved businesses appear in a searchable GravityView directory.

How to Create an Event Workshop Registration + Waitlist System in WordPress
This guide shows how to set up a workshop registration + waitlist system in WordPress: register attendees until capacity is reached, waitlist the rest, approve entries, and auto-promote people when a seat opens using Gravity Forms, Gravity Flow, and GravityView.

Gravity Flow Form Submission Step Tutorial
The Gravity Flow Form Submission step pauses a workflow until another form is submitted, then continues once the handoff is complete. This guide shows how to connect two forms, prefill fields with mapping, send the correct secure link, and troubleshoot the most common “workflow didn’t move” issues.

Gravity Flow Delete an Entry Step Tutorial
The Gravity Flow Delete Entry step lets you trash or permanently remove Gravity Forms entries as part of a workflow. This guide covers the key settings, scheduling options (delay or date-based), and safe testing tips so you can follow retention and privacy rules with confidence.