Drip campaigns (known by many other names like drip marketing, automated email campaign, lifecycle emails, autoresponders and marketing automation) are basically a set of marketing emails that will be sent out automatically on a schedule. If you have Gravity Forms and Gravity Flow installed, it’s very easy to set up your own Drip Campaign.
Using Gravity Flow for WordPress Drip Campaigns
- Install Gravity Flow.
- Then write the different Drip e-mails you want to send.
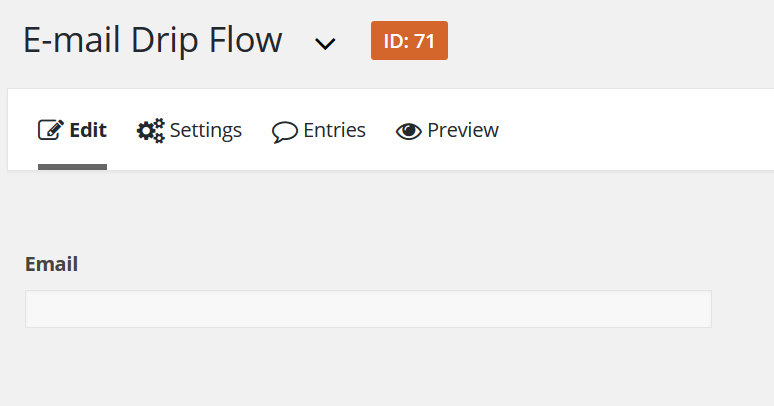
- Then create (or select) a Gravity Form where at least an e-mail address is asked.
Add workflow step(s)
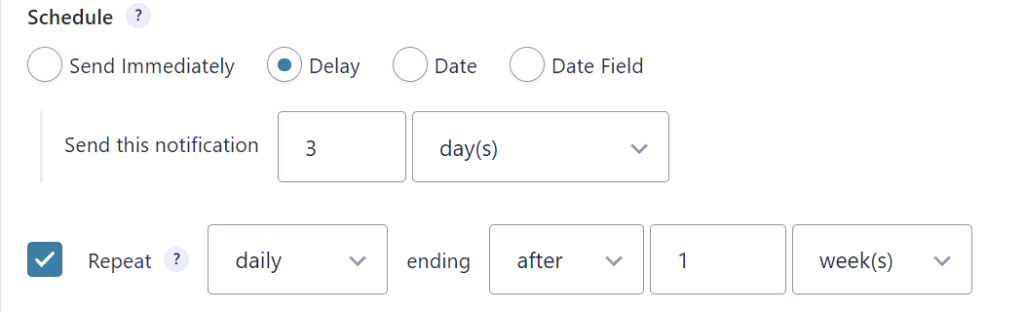
Then go to Gravity Flow by clicking on Workflow under Settings and Add a new step. Click on ‘Notification’ and on ‘Schedule this step’. You can delay the sending of the mail in minutes, hours, days and weeks.
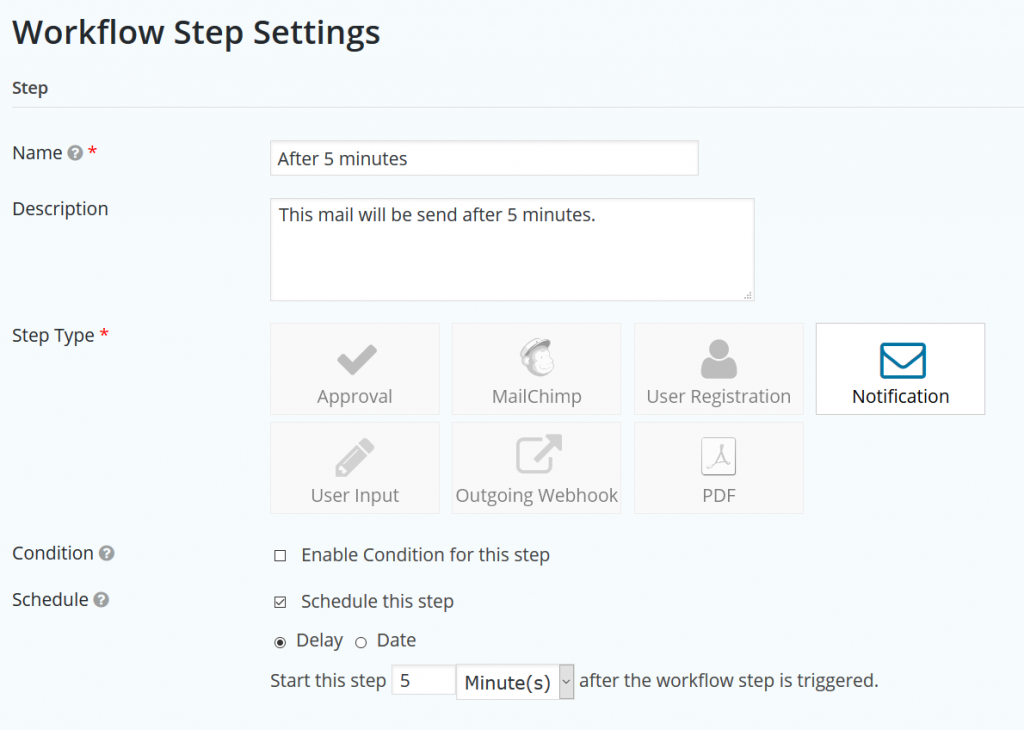
Set up timing and messages
Then enable Workflow notification and click on Fields > Email to send this e-mail to the address that is submitted in your form. After that, configure the message you want to send. Repeat this steps for every email you want to send out.
Alternative option: Notification Scheduler
Another option to create a drip campaign is to use the Notification Scheduler from GravityWiz.
Our Premium add-ons for Gravity Forms

API Connector
Connect Gravity Forms to External API's: Query the API using form field values and automatically fill other form fields with the API response.

Update Multiple Entries
Trigger the update of multiple entries in a target form by submitting an entry in a trigger form.

DateTime Field
The GravityWP - DateTime Field add-on adds a dedicated Date/Time field to Gravity Forms so users can enter both a date and a time in a single input.

Advanced Merge Tags
This Gravity Forms Add-On adds extra Merge Tag modifiers (and a lot of power). From the most common used functions like capitalize and length to changing date formats.
Read tutorials about

Gravity Forms Discount Code Field: Apply Fixed or Percentage Discounts in a Form
Learn how to create a Gravity Forms discount code field that applies fixed or percentage discounts. This tutorial shows how to calculate subtotals, discount amounts, and final totals using tested form logic.

Gravity Forms Zoom Integration: Create Zoom Meetings From Booking Forms
Learn how to connect Gravity Forms to Zoom without Zapier using GravityWP API Connector. This step-by-step tutorial shows how to create Zoom meetings from booking form submissions and save the returned meeting details back to Gravity Forms.

Gravity Forms monday.com Integration: Create New Items From Form Submissions
Learn how to connect Gravity Forms to monday.com without Zapier using GravityWP API Connector. This step-by-step tutorial shows how to create new monday.com items from form submissions and save the returned monday.com item ID back to Gravity Forms.

Gravity Forms Pipedrive Integration: Send Form Contacts to Pipedrive Without Zapier
Learn how to connect Gravity Forms to Pipedrive without Zapier using GravityWP API Connector. This step-by-step tutorial shows how to send form contacts, custom fields, and the returned Pipedrive Person ID directly from WordPress to Pipedrive CRM.

