Drip campaigns (known by many other names like drip marketing, automated email campaign, lifecycle emails, autoresponders and marketing automation) are basically a set of marketing emails that will be sent out automatically on a schedule. If you have Gravity Forms and Gravity Flow installed, it’s very easy to set up your own Drip Campaign.
Using Gravity Flow for WordPress Drip Campaigns
- Install Gravity Flow.
- Then write the different Drip e-mails you want to send.
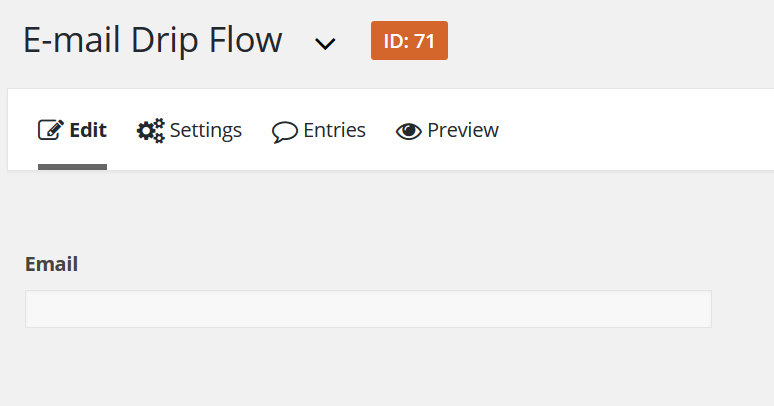
- Then create (or select) a Gravity Form where at least an e-mail address is asked.
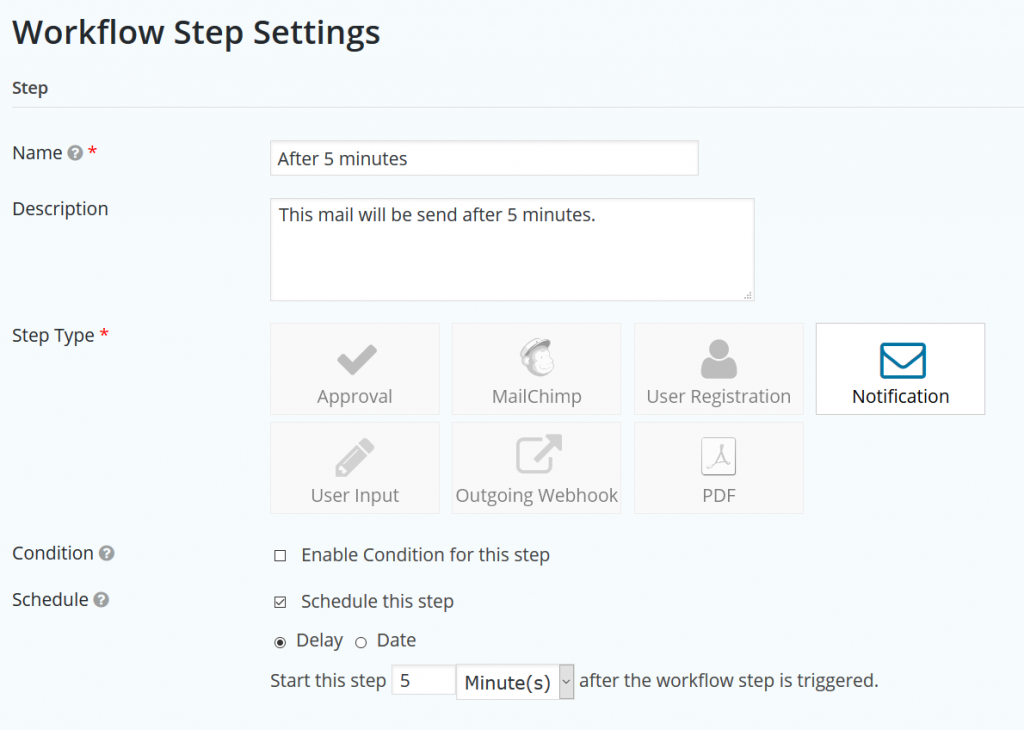
Add workflow step(s)
Then go to Gravity Flow by clicking on Workflow under Settings and Add a new step. Click on ‘Notification’ and on ‘Schedule this step’. You can delay the sending of the mail in minutes, hours, days and weeks.
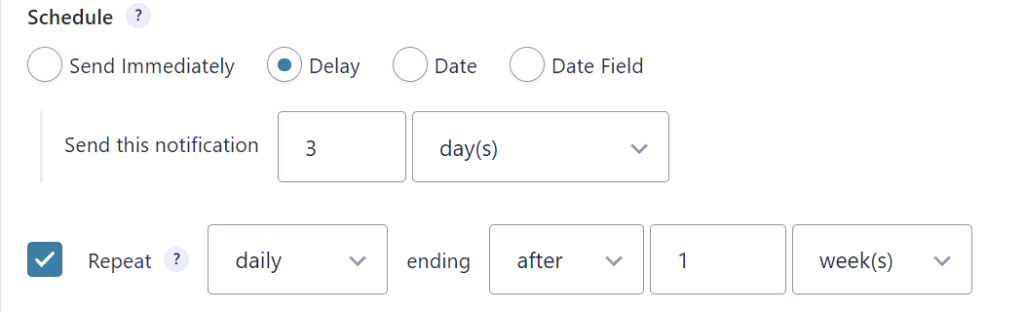
Set up timing and messages
Then enable Workflow notification and click on Fields > Email to send this e-mail to the address that is submitted in your form. After that, configure the message you want to send. Repeat this steps for every email you want to send out.
Alternative option: Notification Scheduler
Another option to create a drip campaign is to use the Notification Scheduler from GravityWiz.
 Advanced Merge Tags
 List Number Format
 JWT Prefill
 Advanced Number Field
 Field to Entries
 Update Multiple Entries
 List Datepicker
 List Text
 API Connector
 Entry to Database
Read more tutorials about Steve Henty S.L.