Do you want to create a Calendar view filled with Gravity Forms entries, for example to show when events or deadlines are coming? With the Gravity Forms Calendar Add-on from GravityView that is easy to do.
Show entries per month
You can generate a Monthly calendar overview:
Show entries per week
You can also display the Gravity Forms entries in a weekly format:
Show entries per day
Or show them per day:
How to configure a calendar for Gravity Forms
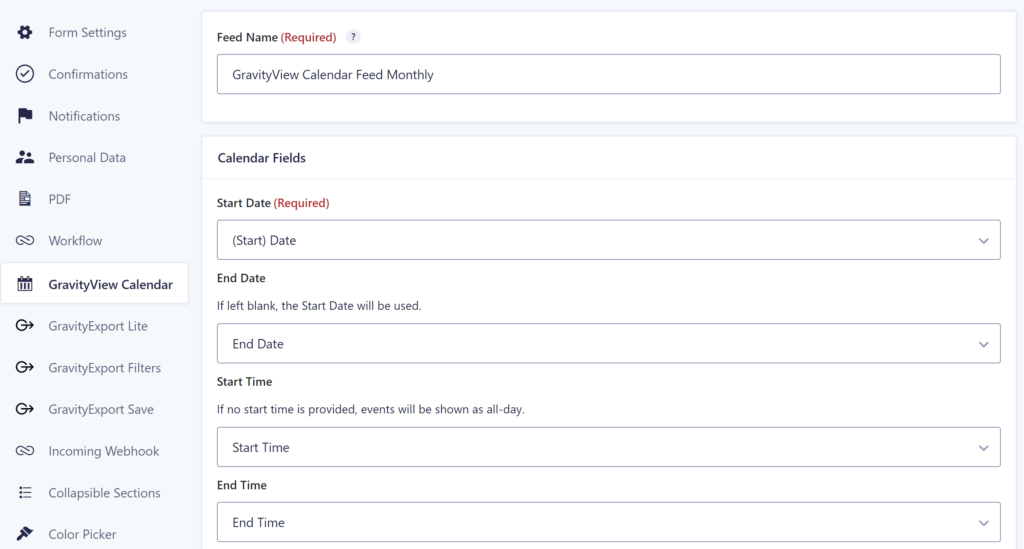
The Add-on adds an extra settings page in your Gravity Form. You can give it a Feed Name (this won’t be visible on the front-end of the site, but makes it easy to distinguish between created feeds).
Under Calendar Fields you can set:
- Start Date: Connect to a Date Field in your Gravity Form. This is the only required field. If only a Start Date is provided, it will make it an all day long event.
- End Date: Also a Gravity Form Date Field value, but this one is optional. If filled and it’s a date in the future compared to the Start Date, it will be a multi day event.
- Start Time: On which time does the event start. This is a Gravity Forms Time Field (and optional).
- End Date: On which time does the event end. This is also a Gravity Forms Time Field (and optional).
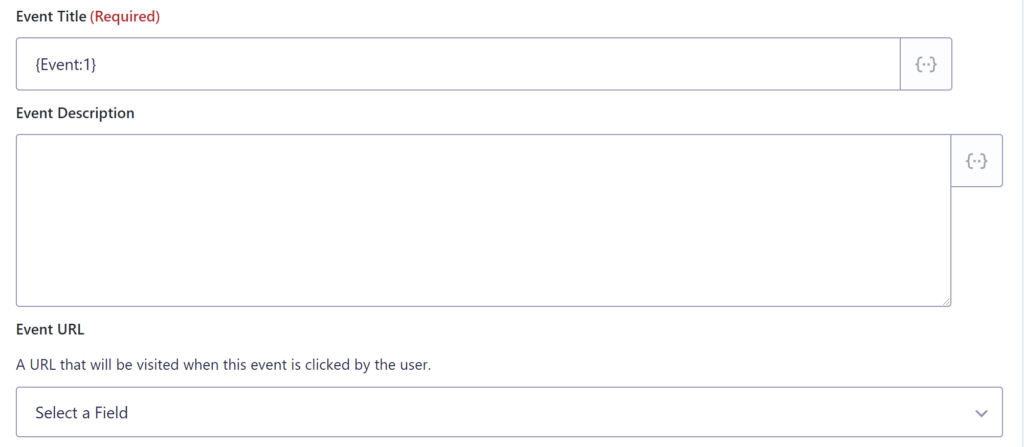
You are required to create an Event Title and you can use Merge Tags (and Merge Tag Modifiers) to build you custom Event Title the way you want it.
Optional is an Event Description (you can also use Merge Tags) and an Event URL (link to more information, or place to register, etc).
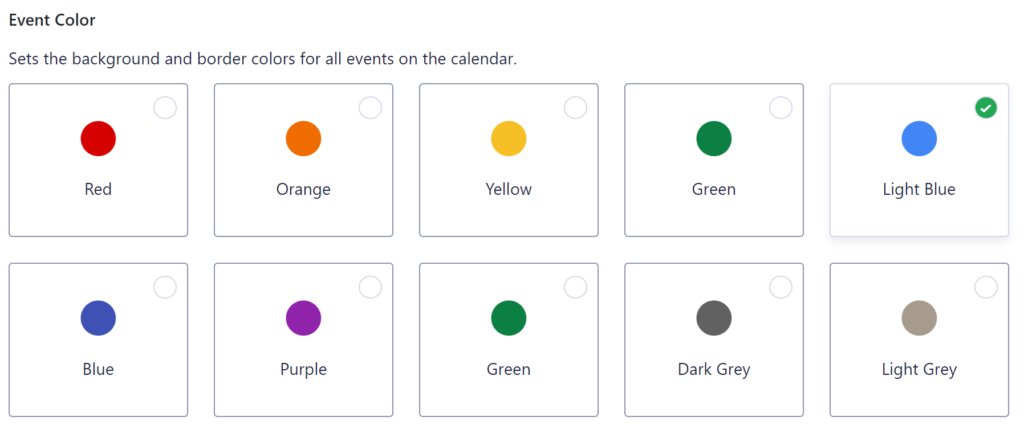
You can set a background color for the events on the calendar:
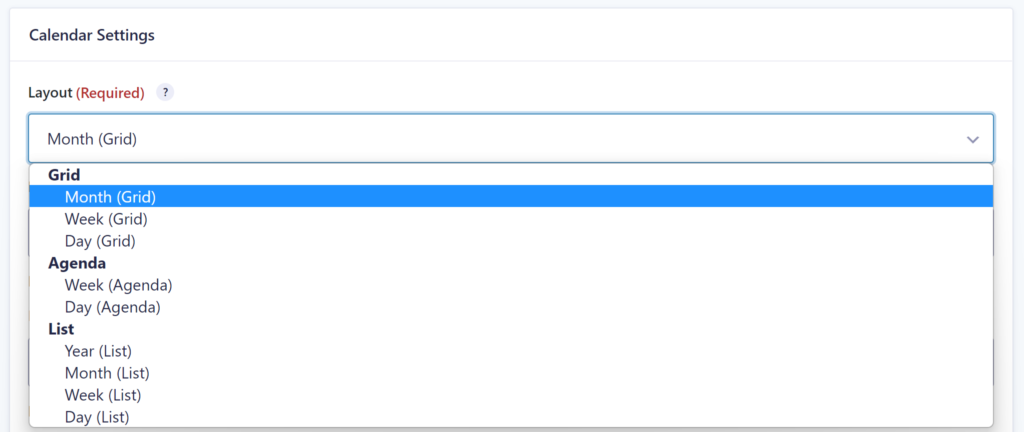
Layout options Gravity Forms Calendar
There are three layout categories:
- Grid:
- Monthly
- Weekly
- Dayly
- Agenda:
- Week
- Day
- List:
- Year
- Month
- Week
- Day
You can decide where the Calendar should start. This can be the currend day (Today), but if there is nothing to show for today, you can also automatically jump to the last event or the next event.

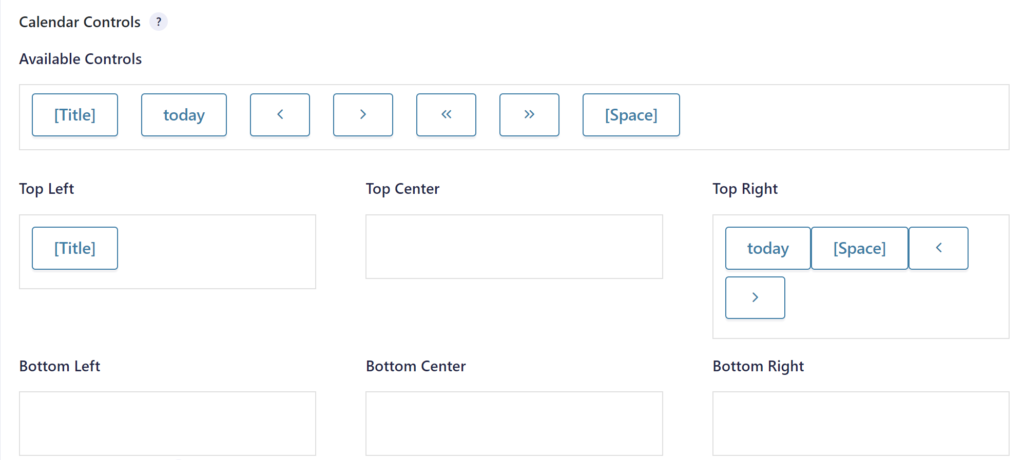
Calendar controls
Automatically on the top left the title (current month / week / day) will be shown and in the top right above the calendar an option to jump to today or to click forward or backwards through the calendar. The Add-on provides a handy WYSIWYG editor to change the way the controls are positioned.
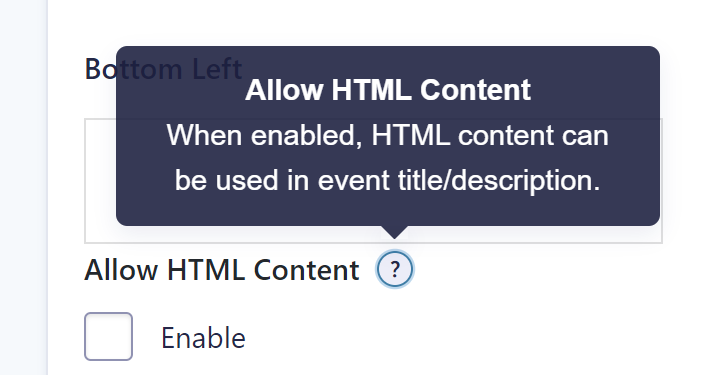
Allow HTML Content
You can enable HTML content to be allowed in the event title and / or description.
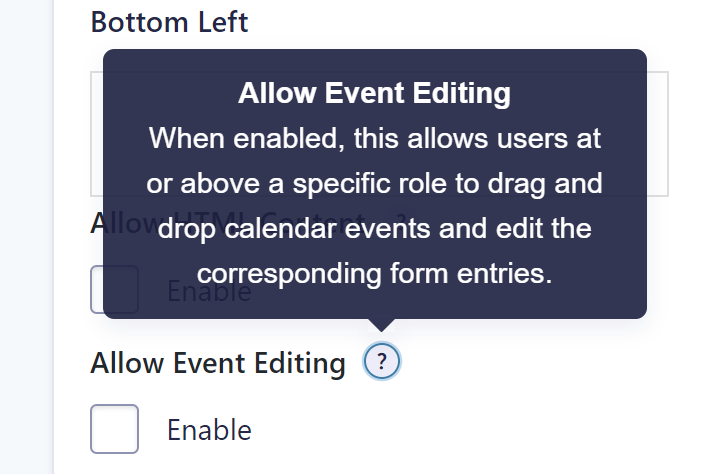
Editing calendar events
You can enable editing events in the calendar. Authorized users can then drag and drop calendar items and edit the Gravity Forms entry.
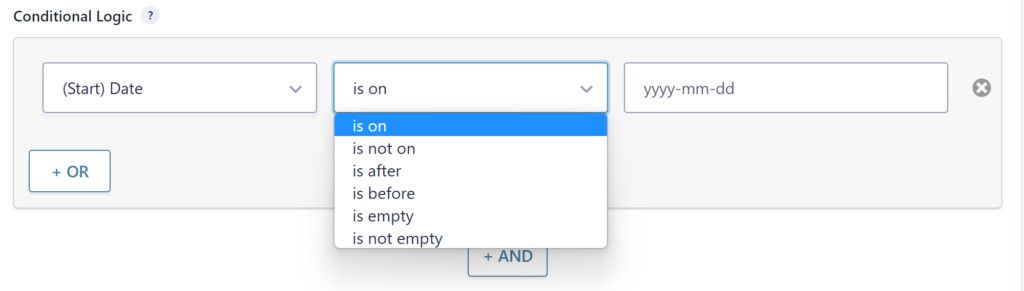
Conditional Logic on Entries shown on the Calendar
You can also filter the Gravity Forms entries that should be visible on the Calendar.
Our Premium add-ons for Gravity Forms

JWT Prefill
Fill forms with data you can trust. Prefill Gravity Forms fields with a secure token instead of links with editable url parameters, so your data is accurate, tamper-proof, and ready to use.
List Dropdown
Add a Dropdown Select with choices to a column or multiple columns in a Gravity Forms List Field.

Update Multiple Entries
Trigger the update of multiple entries in a target form by submitting an entry in a trigger form.

Advanced Number Field
Functionality for Number Fields, like rounding or only absolute numbers, fixed point notation, range calculation, custom units like % or m2 & show as slider.
Read tutorials about

Show Previous Gravity Forms Submissions Using Advanced Merge Tags
This step-by-step tutorial shows how to use GravityWP Advanced Merge Tags to count previous Gravity Forms submissions and calculate total submitted value based on a matching email address.

Gravity Forms LeadConnector Integration with OAuth 2.0
This documentation-based tutorial explains how to connect Gravity Forms to LeadConnector/HighLevel with OAuth 2.0, search contacts by email, and map returned CRM values back into form fields using GravityWP API Connector.

Gravity Forms Zoho CRM Integration: How to Auto-Populate Form Fields by Email
Learn how to auto-populate Gravity Forms from Zoho CRM using GravityWP API Connector. This tutorial shows how to search Zoho Contacts by email and fill form fields with the returned data.

How to Create a Public Submission Business Directory in WordPress (Gravity Forms + GravityView)
Build a moderated business directory where users submit listings through a form, admins approve entries, and approved businesses appear in a searchable GravityView directory.

