When you’re working daily with Gravity Forms, there are some things that make your life easier. Like a better lay-out for the Gravity Forms builder, creating Field Templates (Form Field Patters), better organizing your Forms and Entries in Folders, adding admin only Field Notes, checking Form integrity, Field hinting and handy Keyboard Shortcuts. We’ll walk you through some of the enhancements Gravity Hopper offers.
More compact and detailed Gravity Form Builder
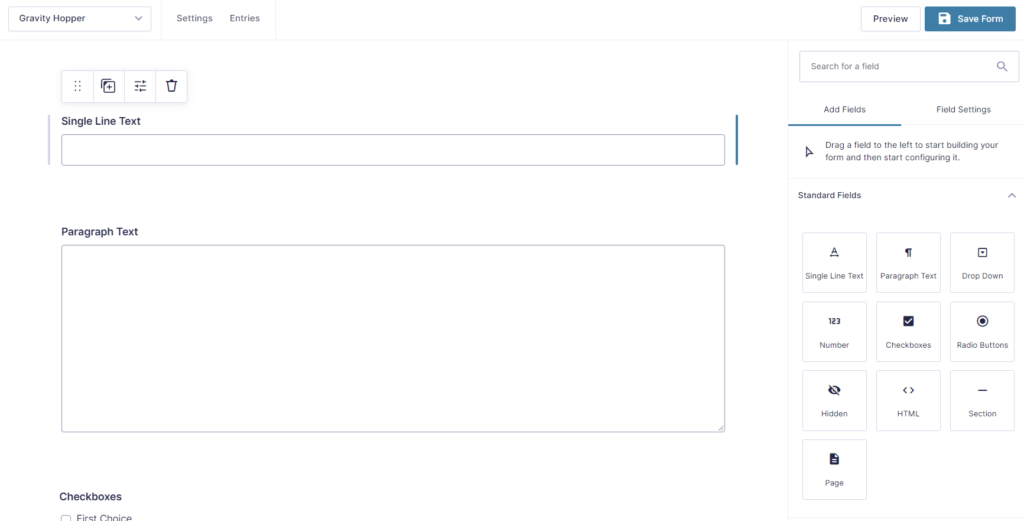
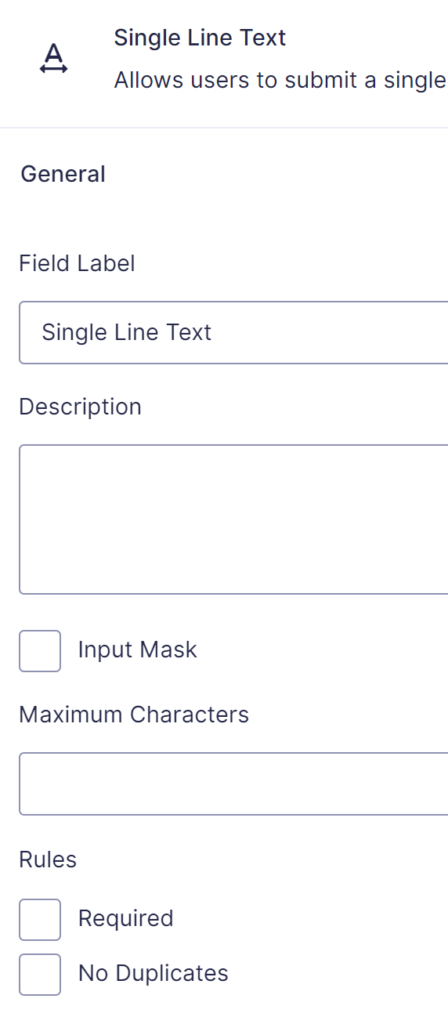
The default Gravity Forms builder takes up quite some space for examples of your Fields and doesn’t give you a lot of space in the Gutenberg style Settings sidebar.
Default Gravity Form Editor
Normally it looks like this:
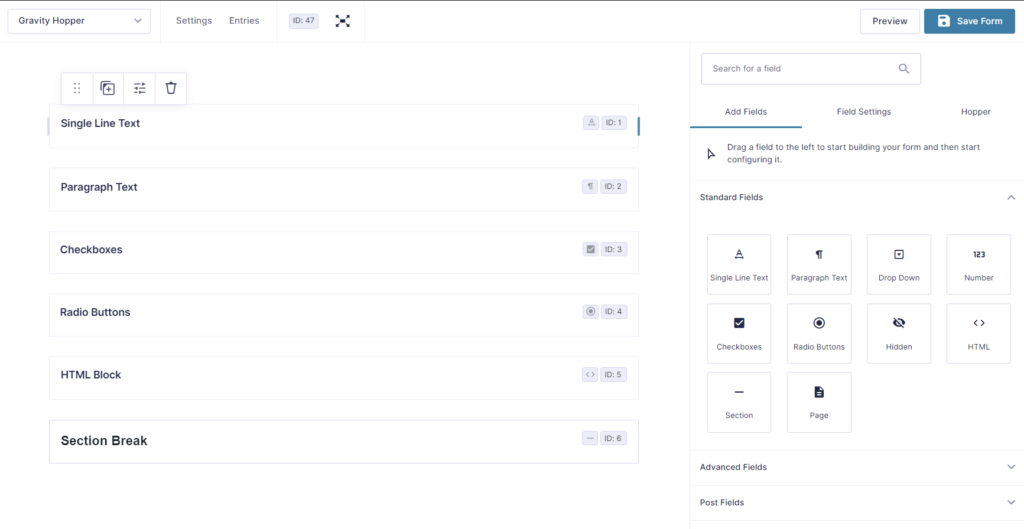
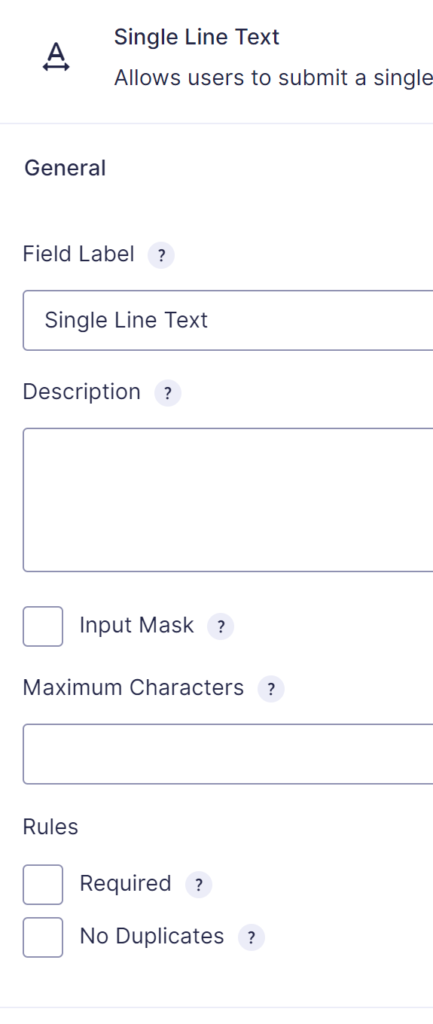
Wider Settings Sidebar and more compact Fields
With Gravity Hopper you can enable some handy styling improvements that makes your building process easier. See the screenshot where double the amount of Fields are directly visible and the Settings sidebar has some extra room. Less scrolling, faster working.
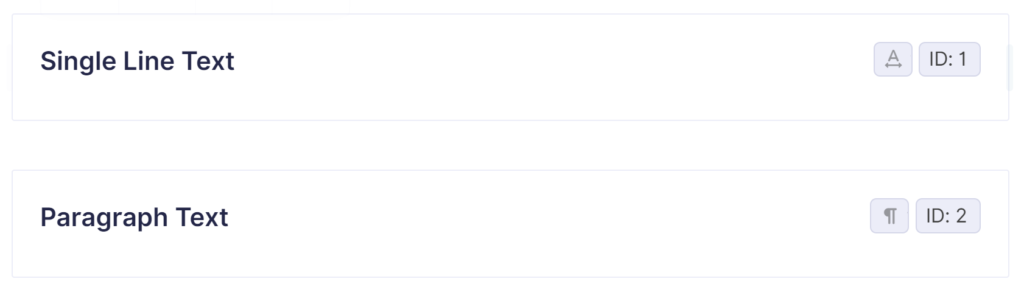
Show Field ID and Field Type Icon in Form Editor
Note that it also provides a more easy way to see the Field ID (without the need to click on it) and a handy icon to see what type of Form Field it is:
Show Form ID in Editor
You also see directly the Form ID itself at the top of the screen (ID: 47):

And by toggeling the expand button, you still easily can see the original Form Field layout.
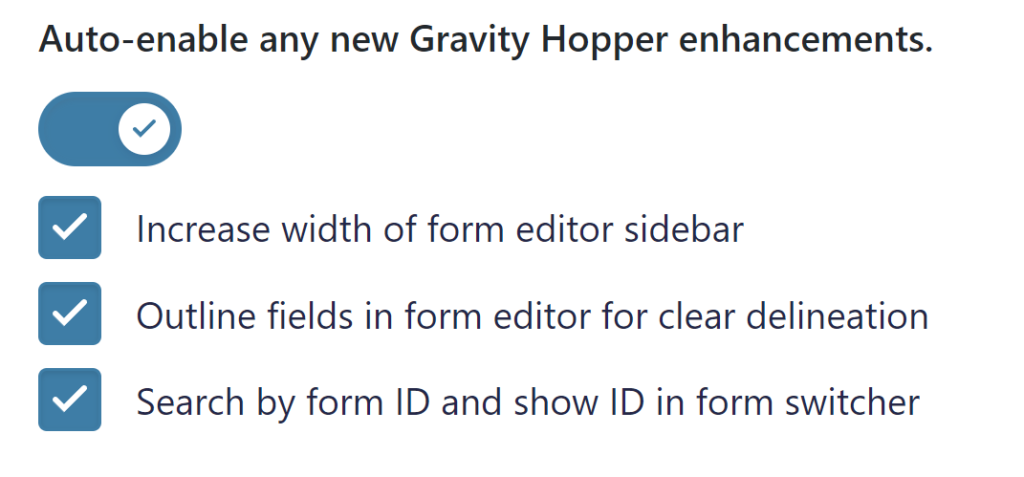
In the Gravity Forms main settings, you can easily enable all these handy perks:
Hiding administrative tooltips
In the Gravity Forms Form Builder there are a lot of tooltips visible in the settings. This can be handy if you are just starting, but when you are a Gravity Forms Guru, it can get in the way of fast clicking and editing settings.
With tooltips enabled, you get a lot of this:
Tooltips visible
Tooltips visible
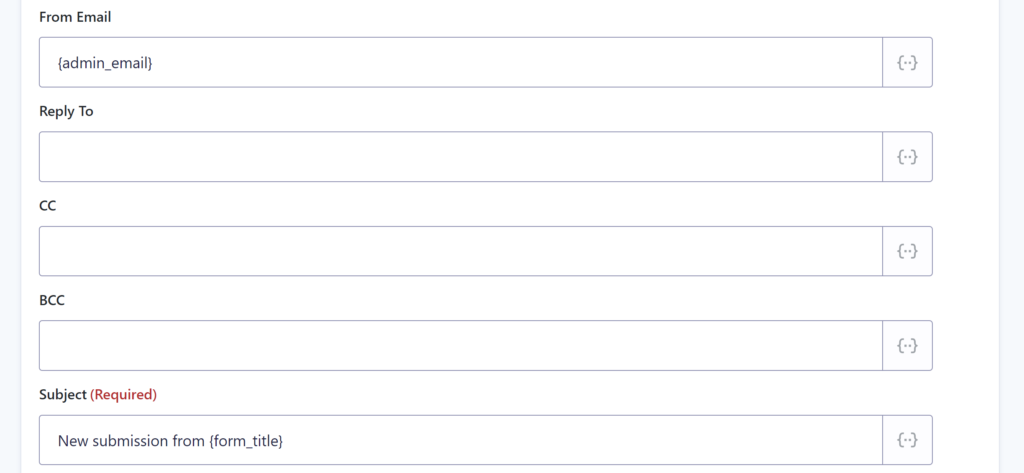
Enable CC field on notifications
Although Gravity Forms has a gform_notification_enable_cc filter available, there are situations that you rather not add code to your functions.php. Gravity Hopper let’s you select it under Configurations in the Gravity Forms Settings:

In your notification, an extra input field voor the mail CC is visible (including the possibility to use Merge Tags):
Organizing Gravity Forms and Entries in Folders
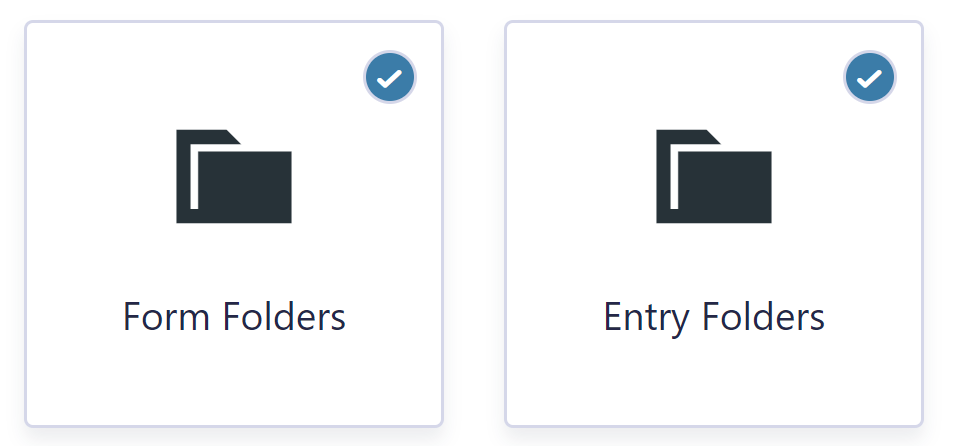
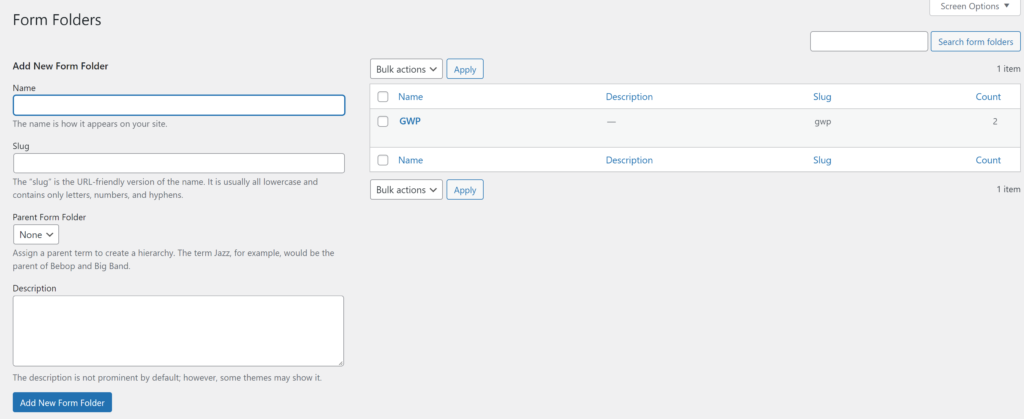
Gravity Hopper let’s you organize your differt Gravity Forms in Folders.
There is a page available (similar to making post categories) to add new Folders:
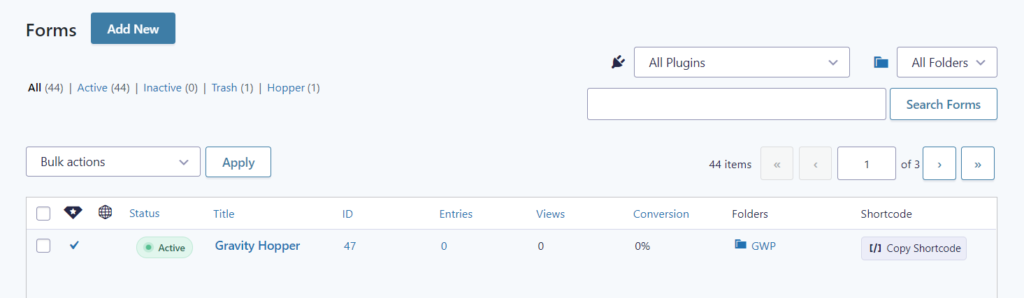
And you can easily assign Forms to Folders in the Forms List.

The same functionality is available for organizing Gravity Forms Entries in Folders.
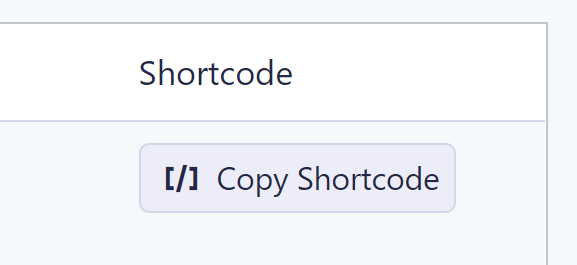
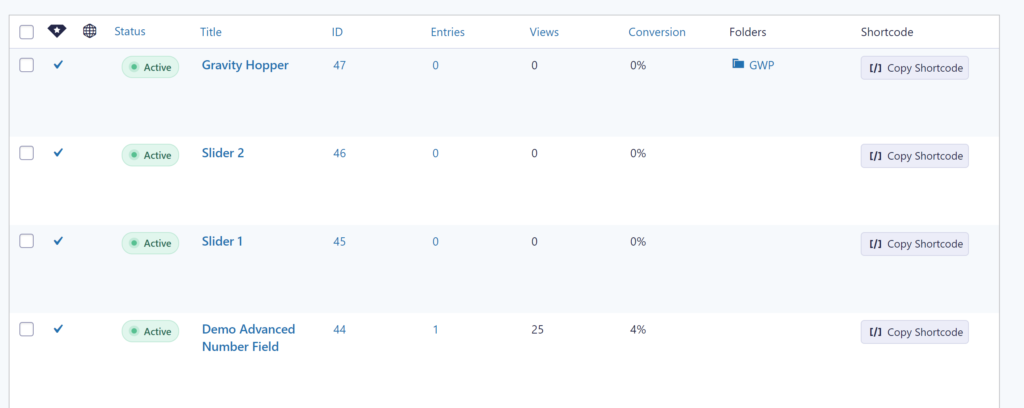
Copy Gravity Forms Shortcode from Forms List
Another handy feature is that you can copy the Gravity Forms Shortcode directly from the Forms List:
Order Form List by most recent Forms
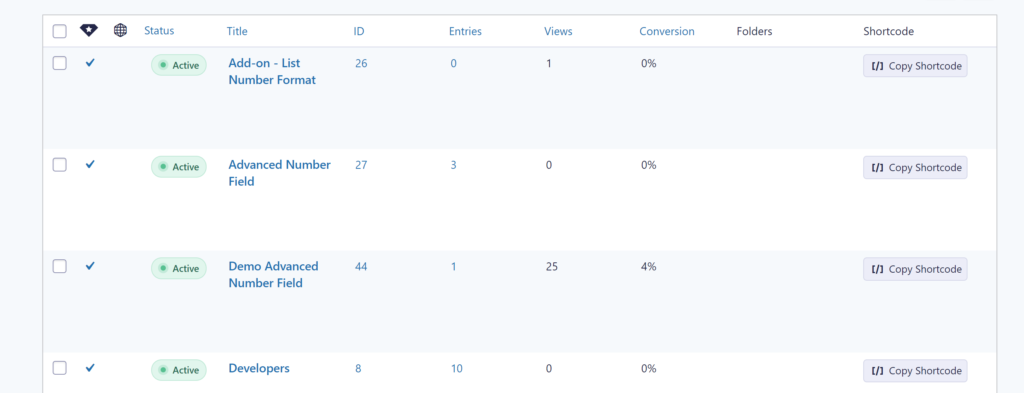
Another option in the settings is to change the default order of the Gravity Forms in the Forms List.

By default the Forms List order is alphabetically:
When activitating the order most recent, it looks like this (you see that the latest Form ID is at the top):
Our Premium add-ons for Gravity Forms

API Connector
Connect Gravity Forms to External API's: Query the API using form field values and automatically fill other form fields with the API response.

List Datepicker
Add a Datepicker with calendar select to a column or multiple columns in a Gravity Forms List Field.

n8n Connector
Connect Gravity Forms to n8n and automate your workflows with secure, flexible, and powerful webhooks. Go beyond simple notifications and build advanced, two-way automations.

Advanced Merge Tags
This Gravity Forms Add-On adds extra Merge Tag modifiers (and a lot of power). From the most common used functions like capitalize and length to changing date formats.
Read tutorials about

How to Create a Public Submission Business Directory in WordPress (Gravity Forms + GravityView)
Build a moderated business directory where users submit listings through a form, admins approve entries, and approved businesses appear in a searchable GravityView directory.

How to Create an Event Workshop Registration + Waitlist System in WordPress
This guide shows how to set up a workshop registration + waitlist system in WordPress: register attendees until capacity is reached, waitlist the rest, approve entries, and auto-promote people when a seat opens using Gravity Forms, Gravity Flow, and GravityView.

Gravity Flow Form Submission Step Tutorial
The Gravity Flow Form Submission step pauses a workflow until another form is submitted, then continues once the handoff is complete. This guide shows how to connect two forms, prefill fields with mapping, send the correct secure link, and troubleshoot the most common “workflow didn’t move” issues.

Gravity Flow Delete an Entry Step Tutorial
The Gravity Flow Delete Entry step lets you trash or permanently remove Gravity Forms entries as part of a workflow. This guide covers the key settings, scheduling options (delay or date-based), and safe testing tips so you can follow retention and privacy rules with confidence.

